
Glass meeting rooms: how to plan for privacy from the start
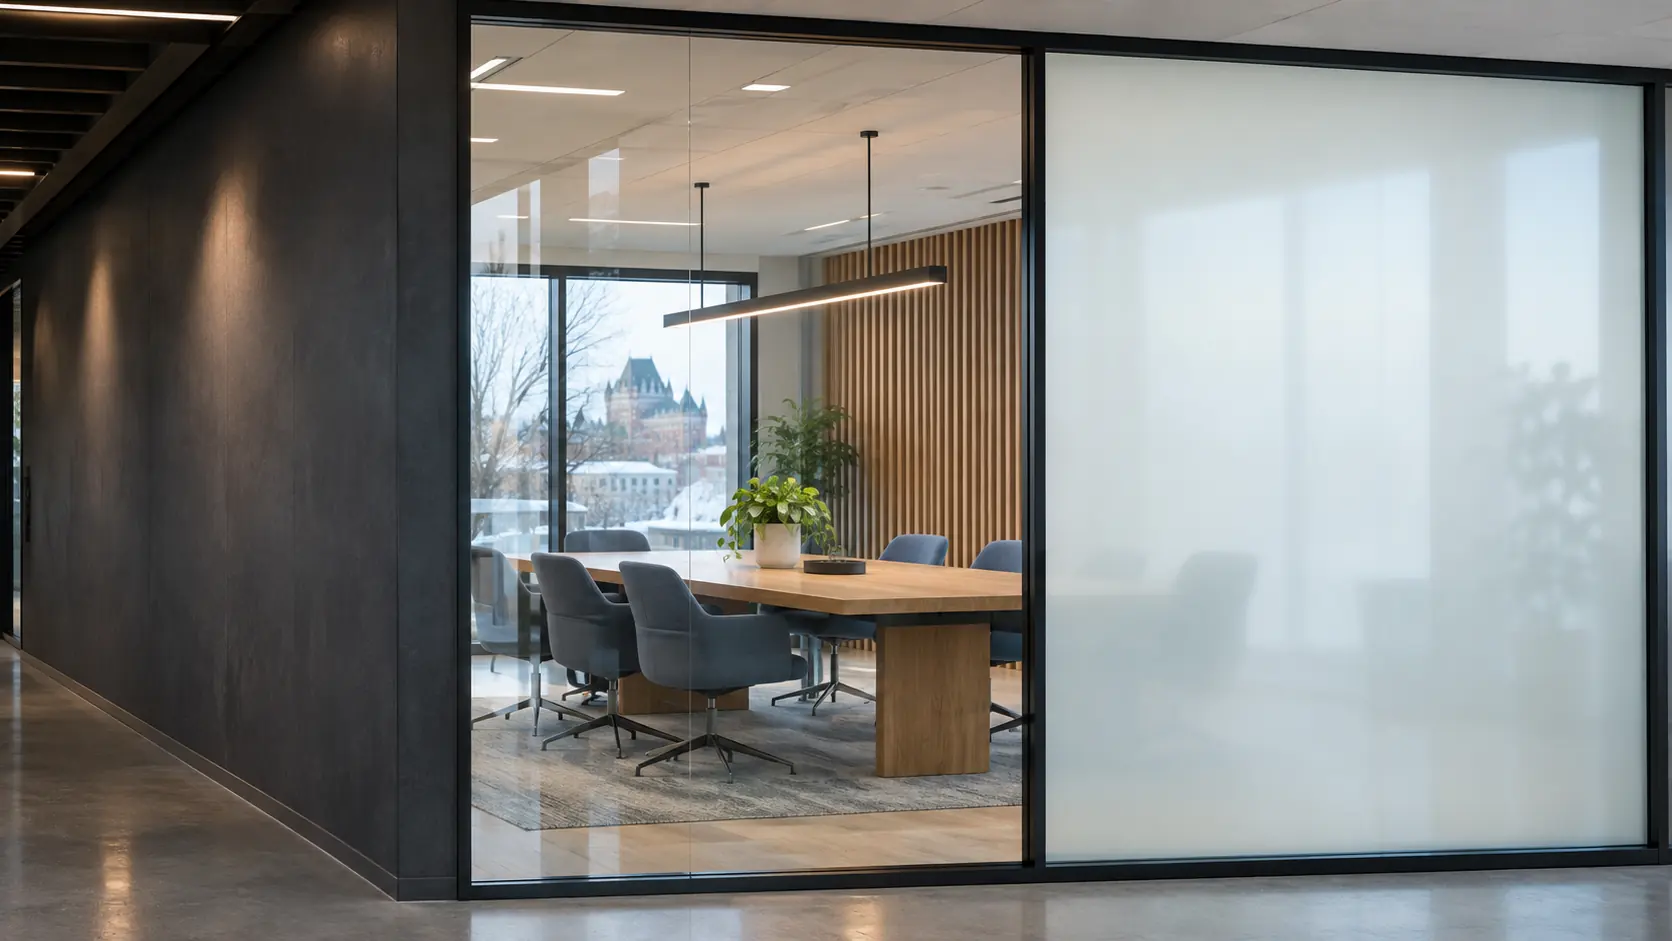
A glass meeting room may face a corridor, reception area or shared workspace. Before choosing how to provide privacy, consider what should remain visible and when. The answer may differ for a team meeting, a client visit or a financial presentation. Walk through the room with the people who will use it, ideally before the layout is finalized.
When does a glass meeting room need privacy?
List the activities that usually take place in the room. Should people outside be able to tell whether it’s occupied? Do the screen or whiteboard need to be obscured during certain meetings? Distinguish areas that always need privacy from areas with changing uses. If the need varies by meeting, plan how the glass could switch from clear to frosted. Mark any area that must always be screened separately on the plan.
Test the view from the corridor
Have someone look into the meeting room from directly across the corridor and at an angle near the door. Ask what they can see of the screen, whiteboard and seating. If the room is empty, mark the table position on the floor and use a sheet of paper to represent the screen. Check the view from reception or the waiting area too. A pane that seems secondary on the floor plan may offer a direct view of the presentation from an angle.
Which meeting room panes should you treat?
Number the panes on a photo or sketch and distinguish the door from the fixed glazing. For each one, specify what you want to screen and when. You might frost the panes in front of the screen during presentations and keep the side facing a quieter work area clear. Mention a glass door at the outset so the installer can take its movement and frame into account.
Plan the controls before closing up the walls
Decide who should be able to switch the glass. If the person leading the meeting will do it, pick a spot they can reach easily from inside the room. If reception prepares the rooms, discuss the setup with that team. Pass those decisions to the installer and contractor before the walls or ceilings are closed. They can coordinate the control location, power and wiring routes for the chosen configuration.
Put together a simple plan for the installer
Send a view from the corridor, a photo from inside and a floor plan, even if it’s marked by hand. Show the panes to treat, the table and screen positions, and where you want to access the controls. If work is underway, include the date the walls are scheduled to close. This gives the team a starting point for confirming the layout and explaining your options. Explore our smart window film service.
Ready to start your window film project?
Tell us what you’d like to improve, whether it’s heat, privacy, security or style. We’ll help you take it from there.
Get a quote →